Have you ever wished you could start your car remotely, especially during those chilly winter mornings? A car remote starter is a fantastic way to preheat your car and enjoy a comfortable ride, but installing it yourself can be daunting. You might be thinking, “Where do I even begin?” This comprehensive guide will walk you through the intricacies of Car Remote Starter Wiring Diagrams, helping you understand the process, making your DIY remote starter installation journey a lot smoother.
Why Understanding a Car Remote Starter Wiring Diagram Is Essential
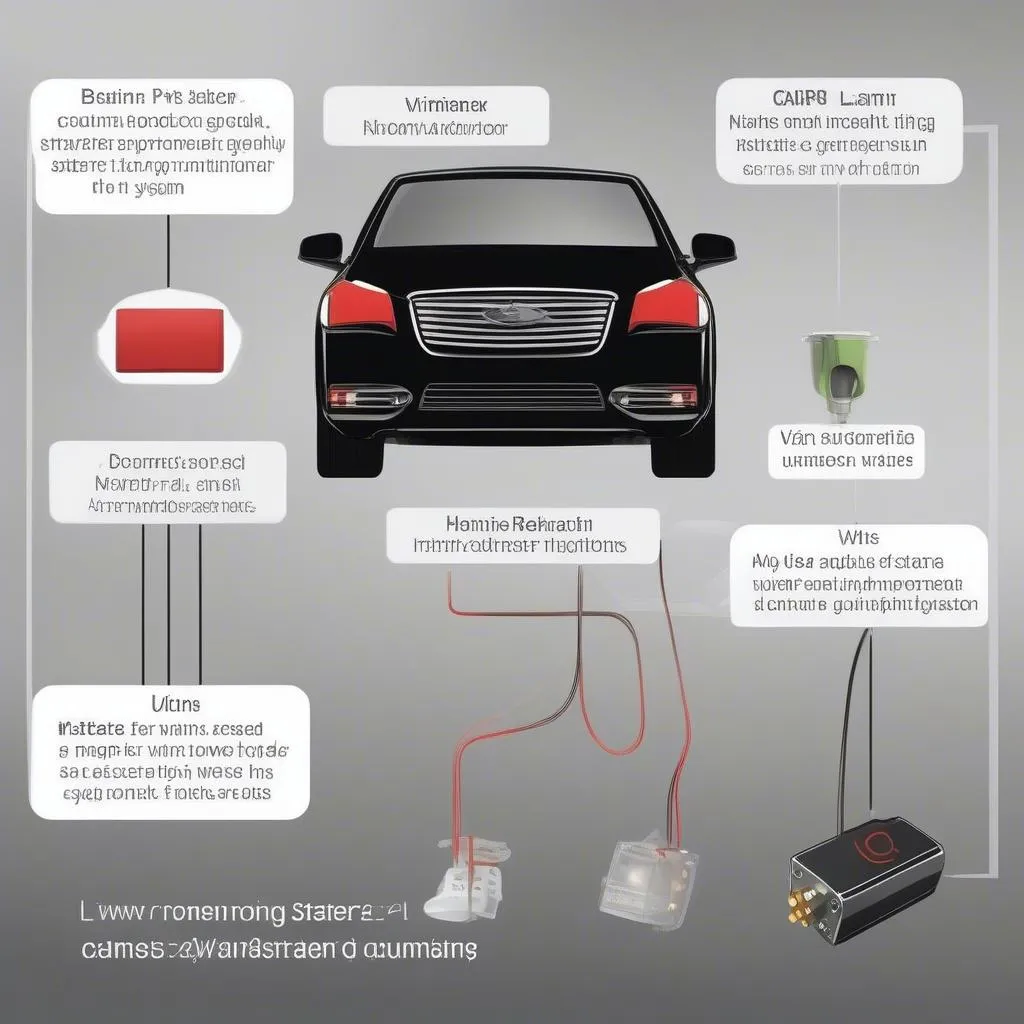
Think of a car remote starter wiring diagram as the roadmap to your car’s electrical system. It’s a visual representation of the wires, connectors, and components involved in starting your vehicle remotely. Every car model has a unique wiring layout, making this diagram a crucial tool for successful installation.
From a mechanic’s perspective, understanding a car remote starter wiring diagram helps them identify the correct wires to connect to the starter, ignition system, and other key components. This accuracy ensures proper functionality of the remote starter and prevents any electrical issues.
From an automotive enthusiast’s viewpoint, this diagram becomes your guide to DIY installation. It enables you to understand the connections, preventing you from accidentally damaging your car’s electrical system.
Economically speaking, being able to understand the wiring diagram can save you the cost of professional installation, allowing you to tackle the project yourself.
Deciphering the Car Remote Starter Wiring Diagram
Understanding the Components
A typical car remote starter wiring diagram includes different symbols and abbreviations representing the key components of the system. Here’s a breakdown:
- IGN (Ignition): This wire triggers the ignition system, starting your car.
- START (Starter): This wire connects to the starter motor, activating it to turn the engine.
- ACC (Accessory): This wire powers accessories like your radio or interior lights.
- POWER (Battery): This wire connects to the battery’s positive terminal, providing power to the remote starter unit.
- GROUND: This wire connects to a negative terminal (usually the car’s frame), providing a ground path for the electrical circuit.
- Remote Starter Unit: This is the brain of the remote starter system, processing the signal from the remote and triggering the necessary connections.
Reading the Diagram
Car remote starter wiring diagrams often depict the wires with different colors and markings.
- Colors: These often correspond to specific functions (e.g., red for power, black for ground).
- Numbers: Numbers might be used to denote specific wire locations or terminals.
- Symbols: These represent components like relays, fuses, and diodes.
Finding the Right Wiring Diagram for Your Car
Important Note: Using the wrong wiring diagram can lead to serious electrical damage. It’s critical to ensure you have the correct wiring diagram for your specific make, model, and year.
- Online Resources: Many online resources, including manufacturer websites, forums, and specialized automotive websites like TechCarUSA, provide wiring diagrams.
- Owner’s Manual: The owner’s manual might provide basic information about the location of the ignition, starter, and accessories wires.
- Specialized Automotive Websites: Websites like TechCarUSA offer comprehensive information about the wiring diagrams and other technical information for different car models.
- Professional Mechanics: A certified mechanic can help you find the correct wiring diagram or even perform the installation for you.
 Car remote starter wiring diagram
Typical Car Remote Starter Installation Process
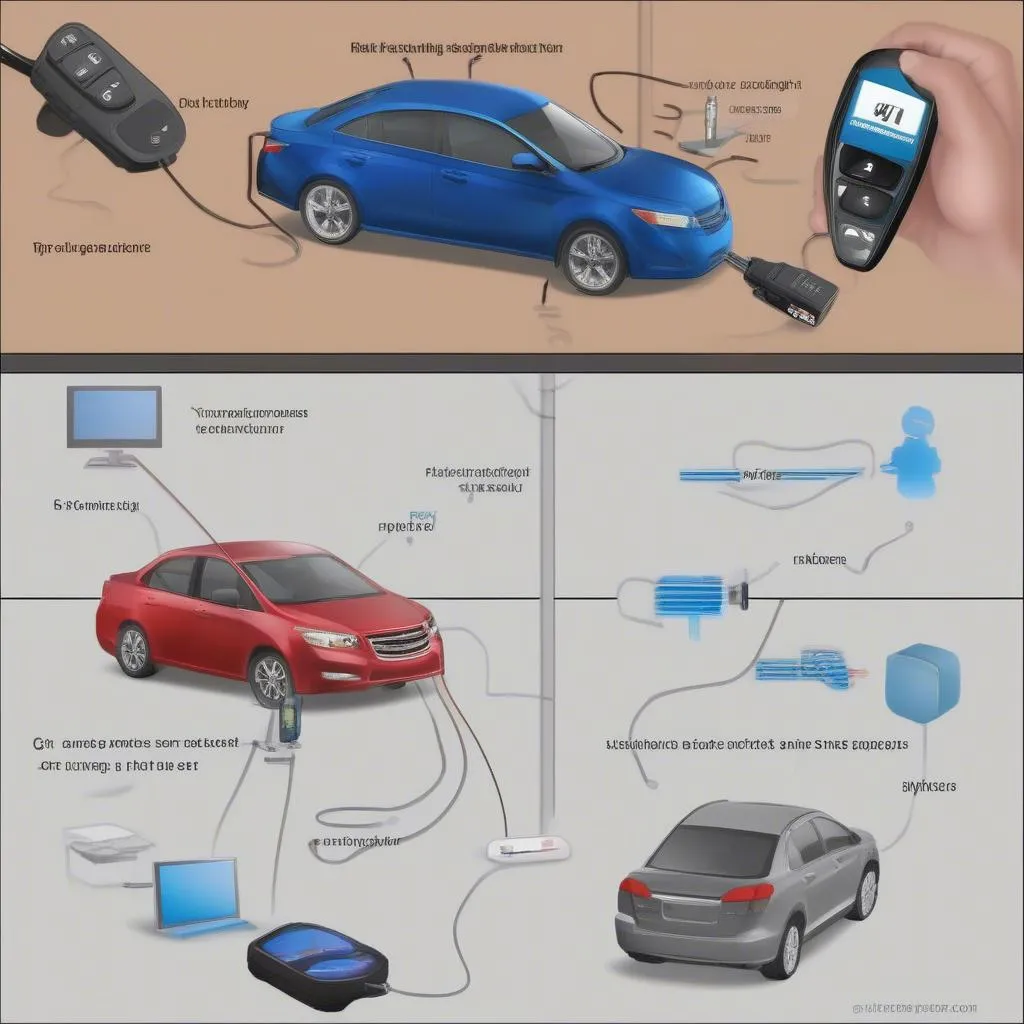
Now that you’ve found the correct wiring diagram, here’s a typical process:
- Gather Your Tools: You’ll need basic tools like wire strippers, crimpers, a multimeter, and a soldering iron.
- Locate Connection Points: Use the wiring diagram to identify the locations of the IGN, START, ACC, POWER, and GROUND wires.
- Connect the Remote Starter Unit: The remote starter unit usually has a harness with colored wires that correspond to those on your car.
- Connect the Remote Control: The remote control transmits signals to the remote starter unit.
- Testing and Troubleshooting: Once the installation is complete, test the system thoroughly, checking for proper functionality. If you encounter issues, consult your wiring diagram and use a multimeter to troubleshoot the problem.
 Car remote starter installation process
Frequently Asked Questions (FAQs)
How do I find the correct wiring diagram for my car?
Answer: The best way to find the correct wiring diagram is to use an online search engine with your car’s make, model, and year. You can also consult your owner’s manual or a specialized automotive website like TechCarUSA.
Is it safe to install a car remote starter myself?
Answer: Installing a car remote starter yourself can be safe if you follow the wiring diagram carefully and have basic electrical knowledge. However, if you’re not comfortable working with electrical systems, it’s best to have a professional mechanic install it for you.
What are the most common problems with car remote starters?
Answer: The most common problems include incorrect wiring, faulty remote controls, and drained car batteries.
Can I install a car remote starter in any car?
Answer: Most modern cars can be equipped with a car remote starter. However, some older or highly specialized cars may not be compatible.
Can I use a remote starter in hot weather?
Answer: Yes, you can use a remote starter in hot weather, but you should consider installing a remote starter with an automatic shut-off feature that prevents the engine from overheating.
Conclusion
Understanding a car remote starter wiring diagram is the foundation of a successful DIY installation. By taking the time to learn about the components, reading the diagram carefully, and finding the correct diagram for your car, you can confidently tackle this project and enjoy the convenience of a remote starter.
Remember, if you’re unsure about any part of the installation process, consult a professional mechanic for assistance.
